Introduction
We're going to take you through the absolute basics of shooting your very first star studded photo. I won't assume any previous knowledge except that you know how to adjust your cameras aperture, ISO, shutter speed and how to set your lens to manual focus. (If you are unsure how to do this Google will have the answers).
I have also used my old entry level Canon EOS 550D (also known as Rebel T2i / Kiss X4 Digital in other countries) which was bought in 2010 - my first SLR camera. This is to show that photographs of the stars can be made without a fancy camera.
Go grab your digital SLR and follow this guide. It won't take long - and you'll be impressed by what you can achieve.
Equipment you will need
A bad workman blames his tools. Well, before we can blame any tools we need to have some with us to curse at. You don't need a lot of equipment for your first photos of the Milky Way. To follow this guide you will need:
- SLR Camera
- Memory card
- Charged battery
- Lens (ideally a wide angle)
- Torch (preferably a head torch to keep your hands free).
- Tripod (the sturdier the better).
And that's it.
(As your ability progresses you might want more equipment - but we will cover that in another tutorial).
Location, time and weather
Equipping yourself is easy. Finding an ideal location and time does not take much longer, but will require a little more thought.
To be able to photograph the stars we need to be able to see them, and this all boils down to light - we need to get away from any unwanted light so that we can capture the faint twinkle of the distant stars on our camera's sensor.
So, in addition to photographing at night, we will also consider the moon phase. The 'moon phase' is the shape (and size) of the illuminated (sunlit) portion of the Moon as seen by an observer here on Earth. The moon reflects a lot of the sun back towards us at night and is many times brighter than the stars. We need to find out when the next 'new moon' (when the Moon is completely hidden at night) is and ideally plan to shoot either four days before or after it. Try visiting: http://www.timeanddate.com/moon/phases/ .


In addition to avoiding the presence of the Moon, we also need to minimise artificial light pollution. I live in the rural countryside of Dorset, UK on the coast - because of this I am very fortunate to be able to shoot the night sky from my back garden (which is where I will take the photos for this tutorial from). If you are not in a rural location you will need to put some distance between yourself and brightly populated areas. You'll just need to go far enough that you can see plenty of stars with your own eyes when you look up. As you begin to take photos in various locations you'll get an idea of how light pollution can effect your final image.
Last but not least, the weather will have the final say. If it's cloudy, misty (and you're not above the mist), or raining and you can't see the stars - best put the kettle on as you won't be able to get the photo you want. Also, very high winds can put a dampener on things. We'll be using a long exposure time which will leave us vulnerable to any camera shake caused by the wind resulting in a blurry image.
Taking the photo
First, setup your tripod somewhere sturdy where the wind won't buffet it too much and then attach your camera with your lens of choice fitted (wide angle lenss are preferable) with the memory card and charged battery installed.
Remove the lens cap and decide how to frame your photo. Having some object other than just the night sky (pointing the camera straight upwards) can help create a more interesting composition. Items such as a notable building, tree or impressive landscapes are ideal as long as they are not moving to much, as the long shutter speed will blur moving objects (though this can be used to creative effect).
Spin the dial on your camera to 'Manual' mode, or 'M' and switch it on. If you can, head into your settings and record your images in 'RAW' as apposed to 'jpg'. This will give us a lot more information to edit with later (if you choose to edit your photo after capturing the shot).
Set your lens to manual focus, this is usually a switch on the lens itself. Now we will set your lens to focus to infinity as the stars are very, very far away. On your lens look for the marking on the focus ring for 'Infinity' - ∞ (looks like the number '8' turned 90 degrees) and set it to this.
Now we are going to take an initial image after setting the shutter speed to 10 seconds, aperture as wide as possible (low f'number) and the ISO as close to 25600 as your camera allows.
(We have chosen these settings as it allows us to get a quick, albeit dim, preview of the scene in ten seconds. We will use these settings to refine the overall framing of the shot before working on focus and exposure.)
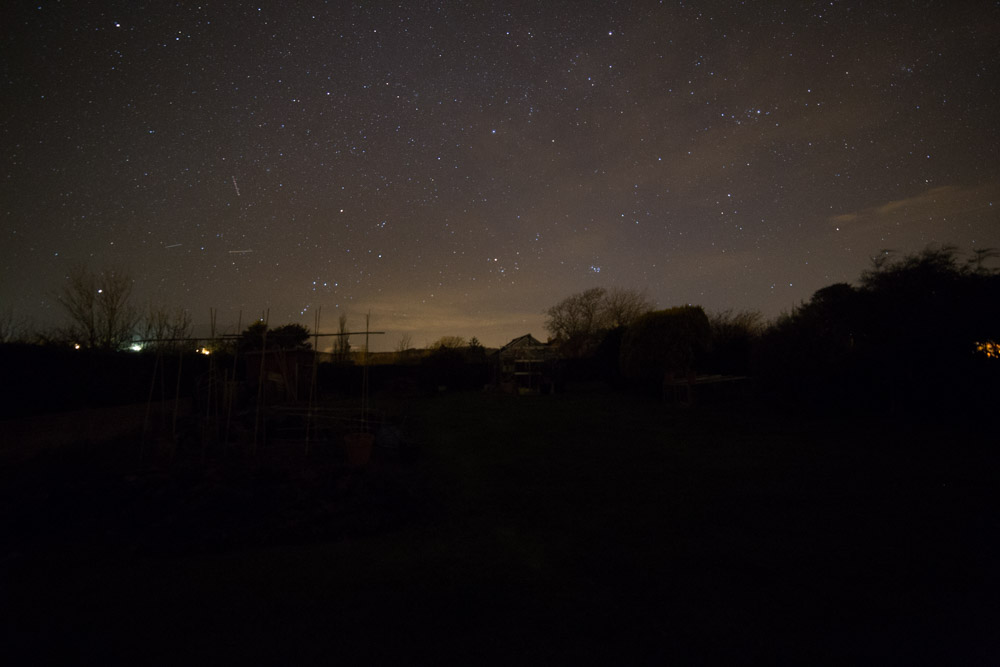
To help prevent shake caused by the depressing of the shutter button we will use the camera self-timer. Turn this feature on and the take your first shot. This is mine:

As you can see there are three things that could do with correcting:
-
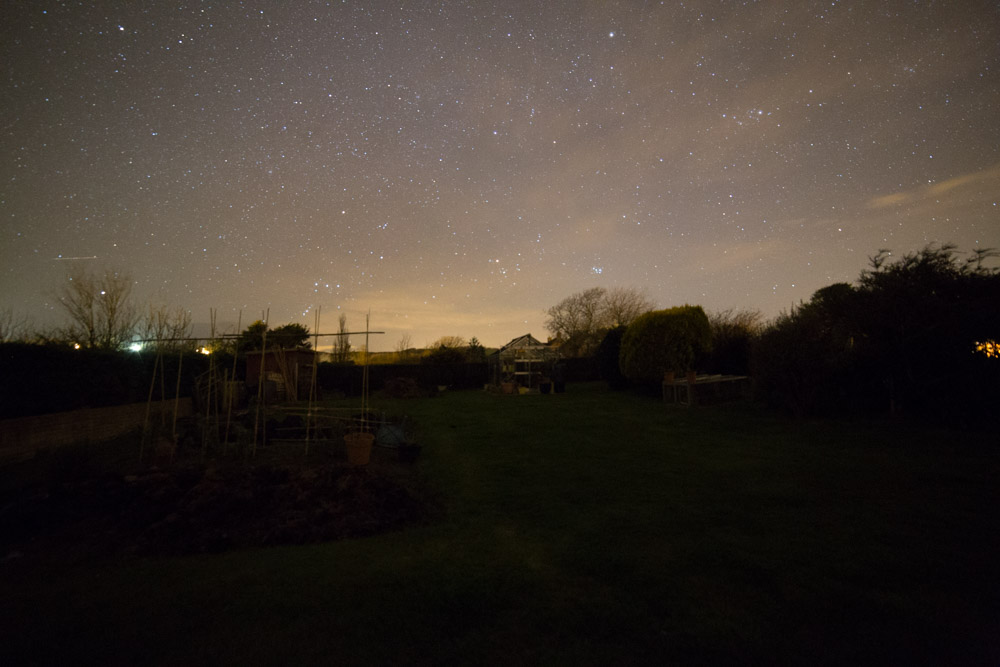
You can see the horizon in my shot and it is not level. Unless you are doing this to achieve a particular look it's best to level the horizon. This is what I got after leveling the horizon:
-
The overall photo is too dim, let's turn the shutter speed up to 20 seconds and see what happens.
-
Now we need to check the focus. As we are focusing to infinity and the stars are along way away from us we should be fine already.
Well done, you're all set! Now that you're outside and hopefully the conditions are right take a few more photos for practice. Your camera is digital so don't be afraid to take as many photos as you want, you can sort through them later. Why not also re-position your camera and try some different compositions and angles.
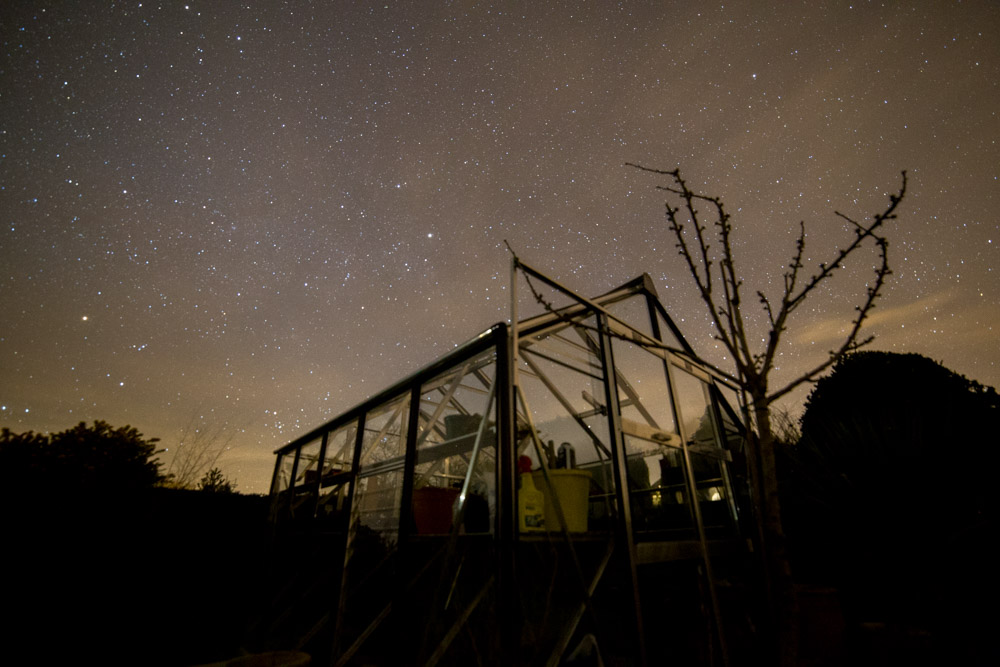
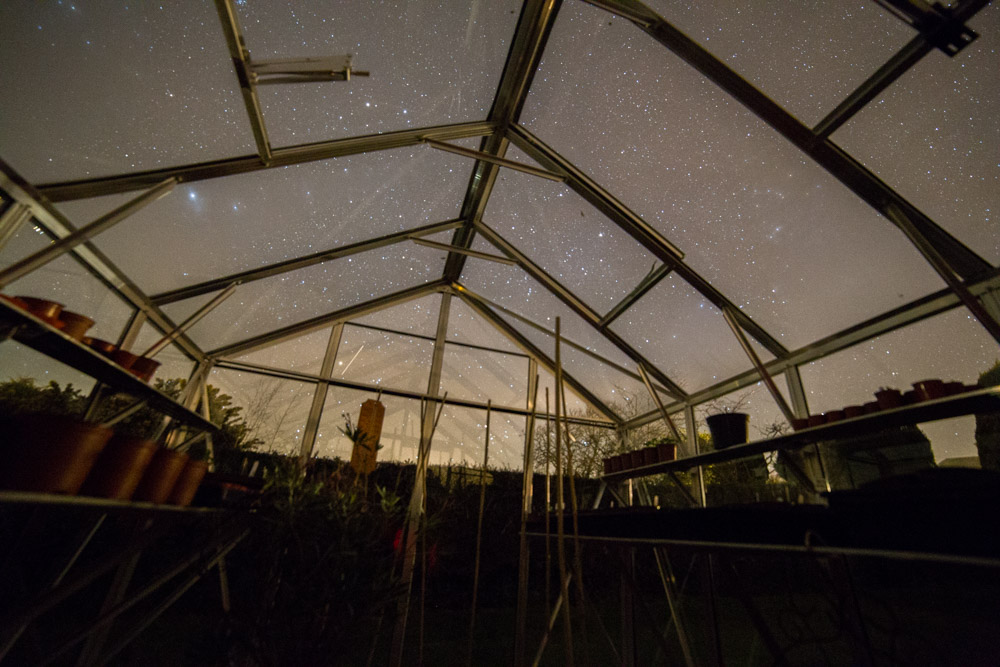
For the following photos I increased the exposure time to brighten the image as well as tyring various different positions and angles around the vegetable garden. I have chossen the best three here out of about twenty or thirty that I actually took. Keep taking them, try everything that springs to mind and then select your favorite, they won't all be showstoppers but some will.

Editing
As this is a introduction guide we won't go into detail here. If you would like to learn more about editing then I will soon be writing a basics guide to editing photos of the stars. Why not sign up to my newsletter at the bottom of this page to receive a notification when a new guide is posted?
Briefly though, we'd suggest opening your shot in your favorite editor. Try to boost the stars by adding some 'clarity' or 'sharpness' to that region of the image. Also consider adjusting the exposure and contrast of various regions until you feel it is well balanced image.
Good job! You have began your foray into night sky photography using long exposure photography techniques. If this has whetted your appetite then consider the other guides available on Chronocapture. We will also consider many more methods for taking your photo of the Milky Way to the next level.
Lewis Aburrow
Written on Wednesday, October 12, 2016